YUEHELE
Guangdong Yuehele Label Material Co., Ltd. is a high-tech enterprise integrat
ing scientific research, production, sales, technical support and service for users.


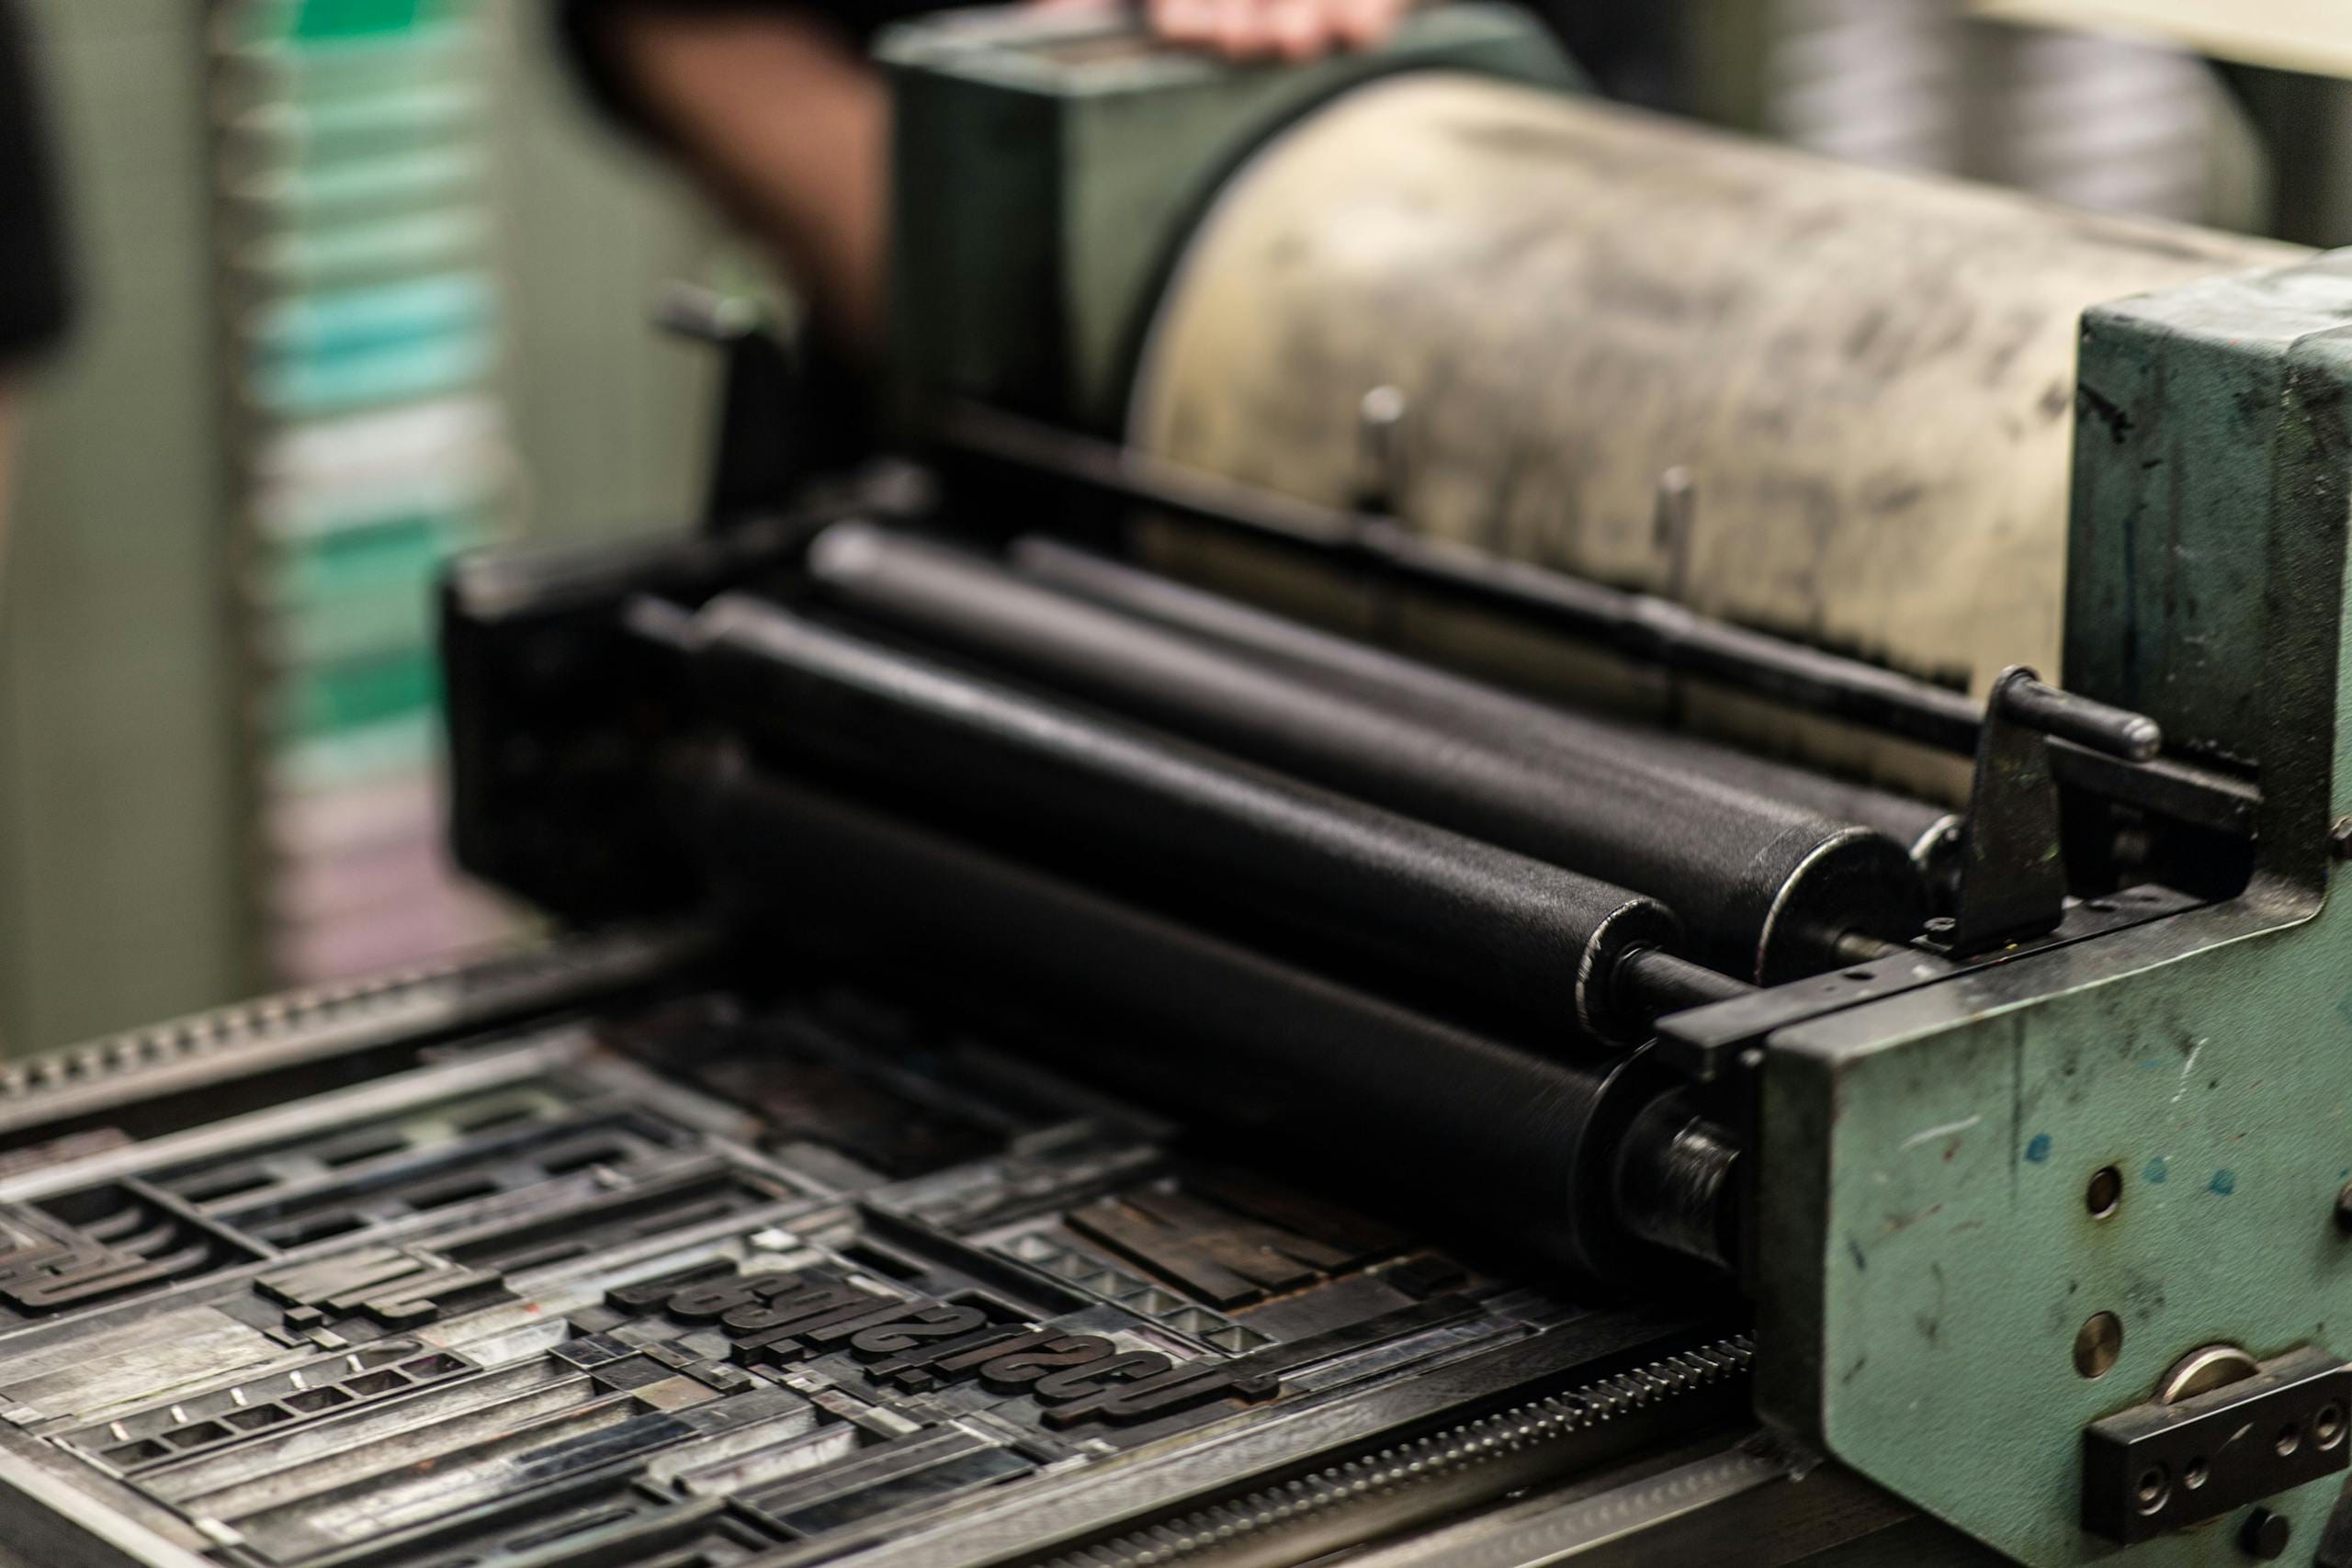
The Problem: Ink Filling (Bridging)
Ink filling occurs when ink fails to transfer completely from the plate to the substrate, accumulating on dot shoulders. This causes:
- Highlight Dot Gain: Small dots (<30%, especially <5%) print larger due to excess ink.
- Midtone Bridging (Ink Fill-In): Ink fills recesses between dots (45-55% area), causing them to connect irregularly. Visible as severe ink buildup on fine screens after washing.
Key Causes:
- Incompatible Anilox/Plate Screen:
- Core Issue: Plate’s smallest dot diameter < Anilox cell opening diameter. Causes ink “spill-over” into dot recesses. Avoid rigid 4-7x anilox:plate ratio rules; prioritize this quantitative match.
- Excessive/Uneven Pressure:
- Mechanical: Roller runout (>20µm tolerance).
- Operational: Excessive ink metering pressure (anilox to plate) distorts dots, floods ink. Over-compensating with impression pressure worsens filling.
- Plate Mounting: Uneven plate height.
- Ink/Plate Surface Tension Mismatch:
- Poor ink release from plate surface allows ink to pool in recesses. Wet plates (after washing) significantly worsen this.
Effective Solutions:
- Anilox Selection:
- Mandatory: Smallest plate dot diameter ≥ Anilox cell opening. Obtain precise cell data from suppliers.
- Precision Pressure Control:
- Fix roller runout (≤20µm target).
- Set ink pressure LIGHTLY first. Gradually increase only if needed. Reduce ink pressure slightly after setting impression – improves filling even if solids slightly hollow.
- Shim plates (NEVER increase pressure): Use tape (~50µm) under solids; shellac (~4µm/layer) under screens.
- Use low-density mounting tape for screens (better resilience).
- Plate Layout & Mounting:
- Gradual pressure transition: Arrange image from low to high screen density.
- Minimize bounce: Use bearer bars or staggered plate layout around the cylinder.
- Optimize Ink & Plate Surface:
- Select ink with surface tension close to the plate resin.
- Consider harder plates or adjust UVC/UVA exposure during platemaking.
- THOROUGHLY DRY plates with compressed air after washing before restarting.
- (Use plate pre-treatment solvents cautiously per supplier guidance).
Conclusion: Prevent ink filling by quantitatively matching anilox to plate dots, minimizing pressure, ensuring mechanical precision, and optimizing ink/plate compatibility. Focused process control is key.
 leave a message